Early History of Photography
The Camera Obscura

The camera obscura was a natural phenomenon that occurred in the early 18th Century. The first artist to use the camera obscura was Caravaggio. He wanted complete darkness when painting in order to concentrate, but as there was a small gap in his curtains he noticed a projection of the outside world on his canvas. This early style of photography was used greatly in the Renaissance period, as artists wanted more real life paintings, so the best way to do this was to project the image onto the canvas using the camera obscura and painting over it.
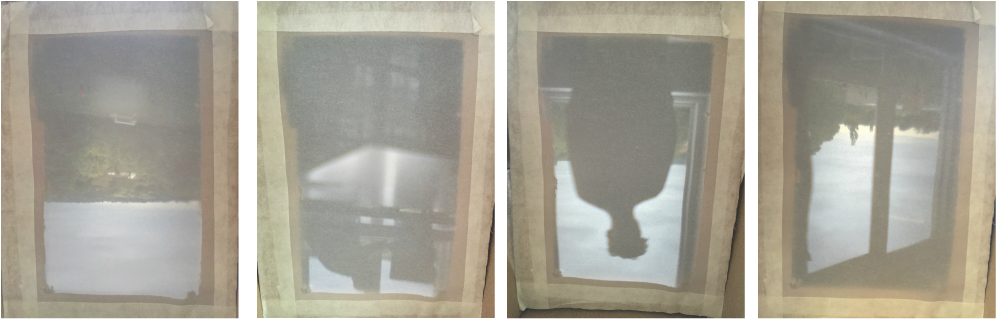
To make my own camera obscura, I used a cardboard box and covered up any holes or edges with tape to make sure that there was no light entering the box. I then cut out one side of the box and used that side to create a projection plate made with vellum. To achieve the image (or projections) that you want, you point the camera obscura to where you want and move the projection plate in or out of the box, depending on where it focuses best. Some of the images produced by the camera obscura I made are below.
To make my own camera obscura, I used a cardboard box and covered up any holes or edges with tape to make sure that there was no light entering the box. I then cut out one side of the box and used that side to create a projection plate made with vellum. To achieve the image (or projections) that you want, you point the camera obscura to where you want and move the projection plate in or out of the box, depending on where it focuses best. Some of the images produced by the camera obscura I made are below.
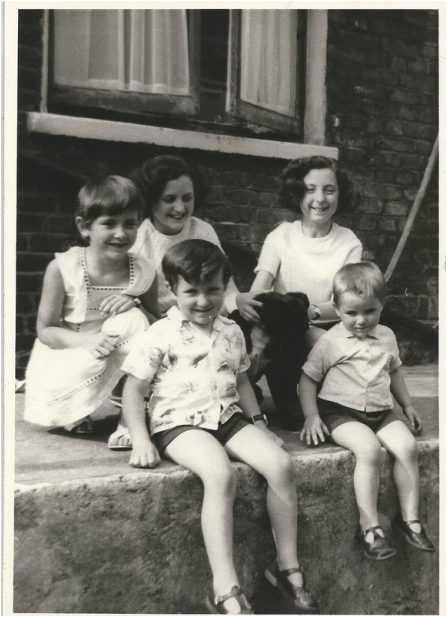
Comparison Between Old and Recent Family Portrait
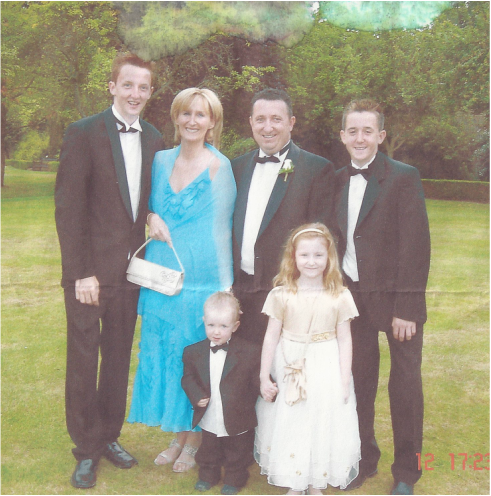
It is evident that over time photography has changed and developed. Not only the way a picture is produced, but the colour of the picture and the way the subjects in the pictures are placed have changed.
In this particular instance, the models in both pictures are placed quite similarly, they are both in a small, tidy group. However, this isn't the case with most pictures. Nowadays people don't seem to be bothered with the different heights or stances of the models so pictures might be very "slap-dash". In times like the 20s, family photos would have reflected things like the family's reputation, so having the perfect picture was extremely important. While the positioning of the models and their expressions are too different in these particular pictures, the quality of the print is. The more recent picture, on the left, is a picture taken on a digital camera and has been printed off onto paper. This isn't as good quality as the older picture, on the right, which was taken on an old polaroid camera. Another difference the pictures have is the colours they use. The more modern photo is taken in colour and printed with colour too, but the older picture is printed in black and white. This is because at the time it was taken in 1970, taking pictures in colour hadn't been developed yet. |
|
Investigating Exposure
Although it may not seem so, the human eye and a camera have a lot in common. Like a camera, the human eye has an aperture (the pupil) which controls how much light enters you eye depending on the size of your pupil. Your eye also has a shutter like a camera does, the eyelid. Also, like a camera does, when light is received, the image is projected onto a plate and flipped over so that we are not seeing the image upside down.
Aperture
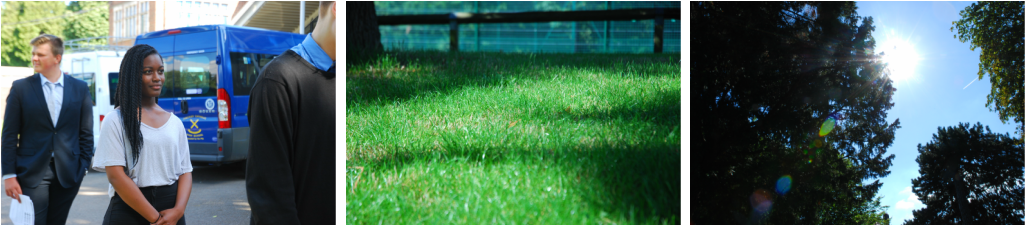
Aperture is a hole or an opening through which light travels. On a camera, the aperture affects different aspects of your picture, most importantly, the depth of field your picture has. If you set your camera to have a large aperture (such as f2.8), you are allowing more light into the picture, therefore your picture will be more exposed (whiter). The large aperture setting will also cause your picture to have a shallow depth of field, meaning that it will mainly focus on one thing while the background of the picture is blurred. These sorts of settings are very good for portrait photography or just close-up shots. On the other hand, if you were to have a small aperture (such as f22) you are not allowing as much light into your picture, so consequently, it will be darker. The small aperture also causes the picture to have a greater depth of field, meaning a lot or even all of the photograph will be in focus. These settings are best for landscape photography.
Below are some pictures I took where looked specifically at aperture and the different settings available.
Below are some pictures I took where looked specifically at aperture and the different settings available.
Shutter Speed
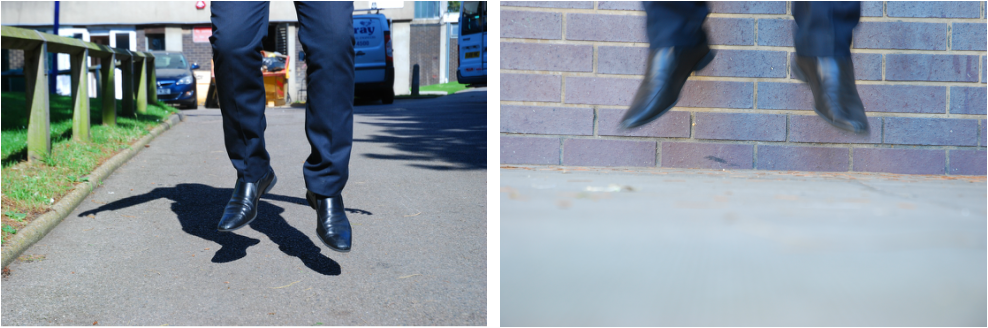
The shutter speed is the length of time that your camera's shutter is open. When it is open, the shutter allows light to enter the lens of the camera, so depending on how long it is open reflects how light or dark your photograph might turn out (its exposure). The shutter speed doesn't only affect the exposure of a picture, but also how blurred it could be. If you were shooting a moving object but wanted to capture a clear, crisp photography, a faster shutter speed would be more appropriate, as the camera is taking the picture more quickly, meaning it would turn out less blurred.
Below are some picture I have taken experimenting with shutter speed.
Below are some picture I have taken experimenting with shutter speed.